


Introduction
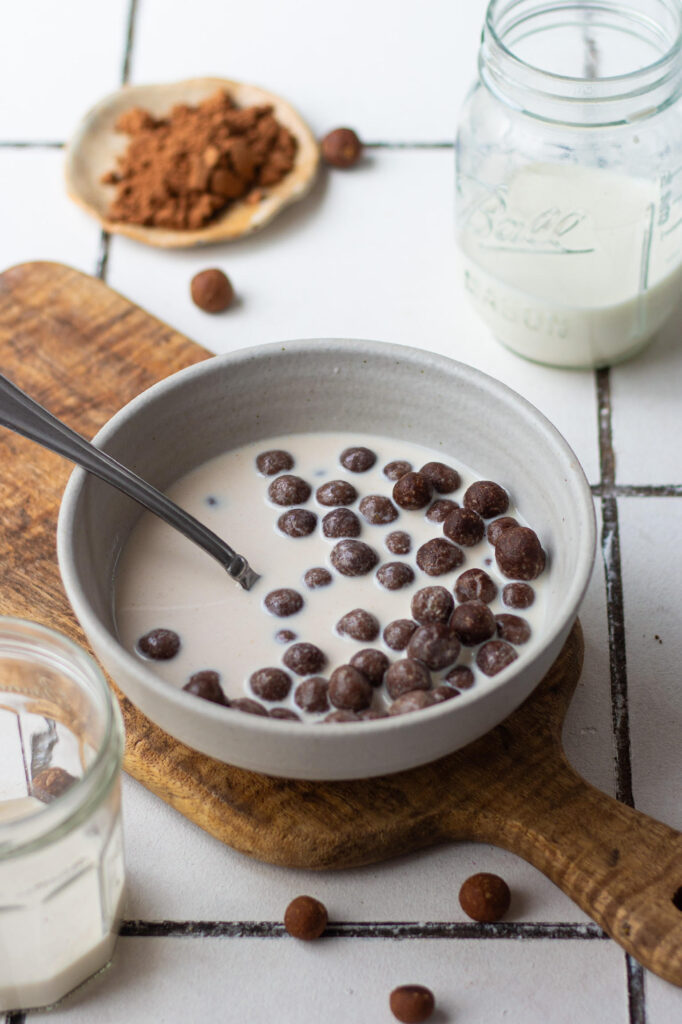
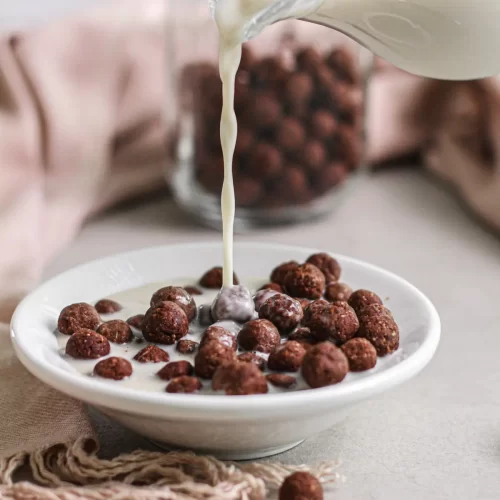
Who doesn’t love a bowl of chocolate cereal to start the day? Chocolate cereal is a favorite breakfast treat for many, thanks to its sweet and rich flavor. But store-bought chocolate cereals often have a lot of sugar, preservatives, and sometimes unhealthy ingredients. That’s why making homemade chocolate cereal is a great idea.
When you make chocolate cereal at home, you control exactly what goes into it. It’s fresh, healthier, and you can customize the taste to suit yourself or your family. In this article, you will learn how to make delicious homemade chocolate cereal from scratch, the ingredients you need, the step-by-step process, nutritional info, and some helpful tips. So, let’s get started on making a tasty and healthy breakfast that everyone will enjoy!
Ingredients – Chocolate Cereal
To make homemade chocolate cereal, you don’t need many ingredients. Here’s what you will need:
- 1 cup rolled oats (You can use quick oats or old-fashioned oats)
- 1/2 cup wheat flour (or whole wheat flour for a healthier option)
- 1/4 cup unsweetened cocoa powder (this gives the chocolate flavor)
- 1/4 cup brown sugar (you can adjust to taste or use honey/maple syrup instead)
- 1/4 teaspoon salt (to balance the sweetness)
- 1 teaspoon baking powder (helps the cereal to be crispy)
- 1/4 cup melted coconut oil (or any cooking oil you prefer)
- 1/4 cup milk (you can use any milk, like cow’s milk or almond milk)
- 1 teaspoon vanilla extract (adds flavor)
- Optional: A handful of mini chocolate chips or chopped nuts for extra texture
Step by Step Process – Chocolate Cereal
Follow these simple steps to make your homemade chocolate cereal:
Step 1: Preheat the Oven
Set your oven to 325°F (160°C). Line a baking sheet with parchment paper or lightly grease it to prevent sticking.
Step 2: Mix the Dry Ingredients
In a large bowl, combine the rolled oats, wheat flour, cocoa powder, brown sugar, salt, and baking powder. Stir well until everything is evenly mixed.
Step 3: Add Wet Ingredients
Pour the melted coconut oil, milk, and vanilla extract into the dry mixture. Stir the mixture with a spoon or your hands until everything comes together and forms a thick dough-like mixture.
Step 4: Spread the Mixture
Spread the mixture evenly on the prepared baking sheet. Press it down firmly with a spatula or your hands, making sure it’s packed tightly and spread into a thin, even layer. This helps the cereal bake evenly and get crispy.
Step 5: Bake the Cereal
Place the baking sheet in the oven and bake for 20-25 minutes. Check the cereal after 15 minutes to make sure it’s not burning. The cereal should be dry and crisp when done.
Step 6: Cool and Break Into Pieces
Once baked, remove the baking sheet from the oven and let the cereal cool completely. As it cools, it will become crunchy. When cool, break the cereal into bite-sized pieces or clusters using your hands or a spatula.
Step 7: Optional Extras
If you want, mix in some mini chocolate chips or chopped nuts after the cereal has cooled. This adds texture and extra flavor.
Step 8: Store Your Homemade Chocolate Cereal
Store your cereal in an airtight container at room temperature. It should stay fresh and crunchy for up to one week.
Nutritional Information
| Nutrient | Amount per Serving |
|---|---|
| Calories | 180 |
| Total Fat | 8g |
| Saturated Fat | 5g |
| Carbohydrates | 24g |
| Dietary Fiber | 4g |
| Sugars | 7g |
| Protein | 4g |
| Sodium | 80mg |
| Calcium | 80mg |
| Iron | 2mg |
Frequently Asked Questions (FAQs)
Q1: Can I use gluten-free flour for this recipe?
Yes! You can replace wheat flour with gluten-free flour blends if you want a gluten-free cereal. Just make sure the blend you choose works well for baking.
Q2: How can I make the cereal crunchier?
Make sure you spread the cereal mixture thin and bake it until it’s fully dry and crisp. Also, letting it cool completely helps it harden and become crunchy.
Q3: Can I make this recipe vegan?
Absolutely! Use plant-based milk like almond or soy milk, and substitute brown sugar with maple syrup or agave syrup if you want it fully vegan.
Q4: How long does homemade chocolate cereal last?
Stored in an airtight container at room temperature, it lasts up to one week. For longer storage, you can refrigerate it or freeze it in a sealed bag.
Q5: Can I add other flavors to this cereal?
Yes! You can add cinnamon, nutmeg, or even dried fruit like raisins or cranberries to customize your cereal.
Final Thoughts
Making homemade chocolate cereal is a fun and healthy way to enjoy your favorite breakfast treat without all the added chemicals and sugar found in many store-bought cereals. With simple ingredients and easy steps, you can create a delicious, crunchy cereal that’s perfect with milk or yogurt.
Not only will you save money, but you’ll also feel good knowing exactly what you’re eating. Plus, it’s a great activity to do with kids or friends who love chocolate! So, next time you want a sweet and tasty breakfast, try this homemade chocolate cereal recipe and enjoy a fresh, wholesome start to your day. Give it a try, and let me know how it turns out!